Monthly Archives: October 2010

Aubergine dip

A quick search on the internet for aubergine dip will result in many different versions – this is how I made mine today.

You will need:

  • 2 medium sized or one large aubergine
  • 2 cloves of garlic
  • 1/2- 1 teaspoon of cumin
  • a good dollop of olive oil
  • salt and pepper

Heat your oven to 200 degrees. Wrap the garlic cloves in foil and place them together with your aubergines in the oven for about 40 minutes.

Bring them all out and let them cool. Then chop the aubergine in half and scoop out the inside. You will find that the peel comes off easily. The garlic would have cooked from the inside and you will be able to just squeeze the insides out of the peel once you pierce it on one side.

Place the scooped out aubergine and garlic in your blender and add the cumin and olive oil. Blend well and add salt and pepper to taste. Serve when cool.

How to make your own pasta (linguini)

I LOVE pasta, and I’ve always wanted to try and make fresh pasta, but always feared that it was one of those risky things where everything needed to be just right… To our delight, it really is not the case.. and although it is quite a bit more labour intensive when compared to opening a box of pasta and throwing it into boiling water, it really is fun, and yummy!

For two persons you need:

2 eggs

200g plain flour

That’s it! Even the proportions are simple!

So, here we go –

Put the flour on a clean surface and make a hollow in the middle. Break both eggs and gently beat them.  Slowly start to incorporate the flour into the beaten egg and it will get thicker.   Eventually you will need to start using your hands, and just knead the mixture and combine all the egg and flour.   Keep kneading until you have a firm but stretchy dough.   Sprinkle a little extra flour if the dough is too wet, or just a few DROPS of water if it is too dry.

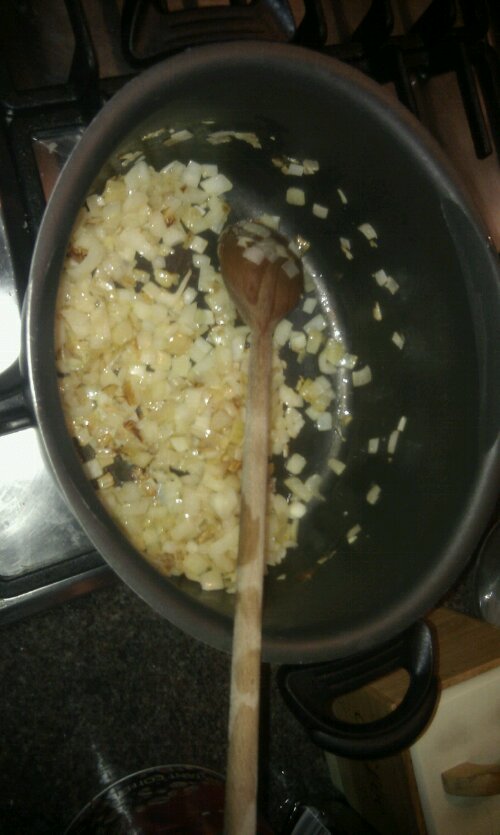
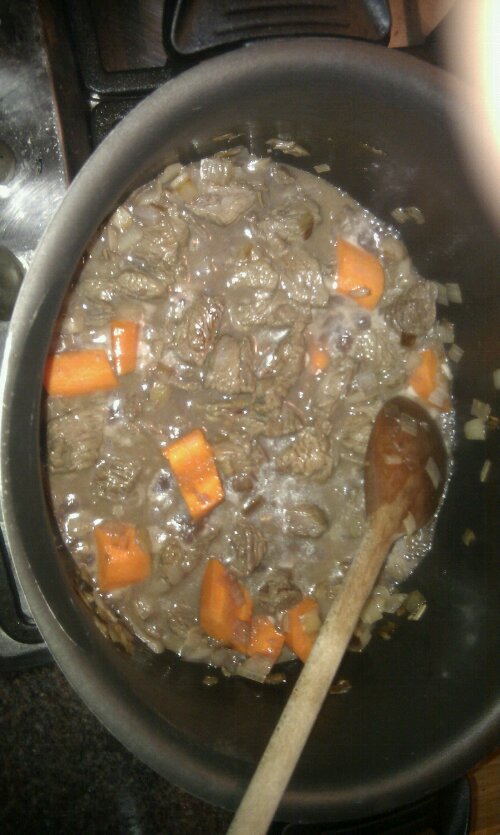
Wrap the dough in plastic and put it aside for half an hour.  This gives the gluten chance to settle and helps with rolling later on.   Take this time to prepare a sauce of your choice.

Next, knead the ball of dough into a flattish pancake. Don’t be too fussy – it just needs to be easy to handle for the first roll.

With your pasta rolling machine firmly anchored at the edge of the table, set the rollers to the widest gap, and roll the dough through for the first time.

The dough will be a bit grainy and may tend to break up. Don’t worry! Simply fold the strip in half and pass it through the rollers again.  Keep folding and rolling and you will soon see the texture changing, and the dough will become smooth and much more uniform.

Great! Now click the rollers to the next notch to make the dough slightly thinner.   If you notice the dough starting to break up again, simply fold in half and keep rolling on the same setting.

Gradually adjust the rollers and thin down your dough.   As it gets thinner, it also gets much longer, so you may want to cut the strip in half or more, to handle shorter pieces of dough. Also, it helps if two people are doing this process – one person feeding the pasta into the machine and rolling, whilst the second person helps draw the rolled pasta out of the bottom of the machine.

Now that you have finally reached the thinnest setting on the rollers, it is time to cut the linguine!  This process is exactly the same as rolling, except that you will use the cutting wheels rather than the rolling wheels on the machine.

Simply help out the linguini by hand, and drape them over a chair.

Now you can either cook these straight away, or leave them to dry out and use them later on.   Remember that fresh pasta cooks very quickly, so you really need to watch them carefully. These linguini were “Al Dente” in less than 3 minutes!

Parmiggiana di Melanzane

Here we have a typical Italian dish that is fairly easy to prepare and tastes utterly divine. You will need:

2 aubergines

1 onion

1 clove of garlic

2 cans of tomato (puree or pulp, whatever you fancy)

plenty of Provolone and Parmesan cheese

some fresh basil

glass of red wine

As usual, when using Aubergine, slice them up, layer them in a colander with rock salt, and put something heavy on top.   Leave them for at least half an hour, then rinse off the salt very well and pat dry.

Chop the onion and garlic. Brown in a pan and then add the red wine.   Once the wine has reduced, add the tomato, lower the heat and leave to simmer.  Don’t forget to add a teaspoon of sugar to the tomatoes, and some basil when it is almost done.

In the meantime, grill the aubergine slices until they are browning on the edges. you can also fry them, but grilling is easier and healthier!

Once the tomato sauce has reduced a little, and your aubergines are grilled, it is time to start putting it all together.   You need a baking dish. Try not to use a very big one, as you will end up with less layers of aubergines.

Begin with a layer of tomato sauce spread evenly over the bottom of the dish, and cover with grilled aubergines.   Next cover the aubergines with another layer of sauce. Now cover with a layer of Provolone cheese.

Proceed to build layers of aubergine, sauce and cheese. When you reach the final layer of cheese, grate the Parmesan over the sauce very generously.

Place the dish in the oven on a medium heat (around 150 degrees C) for approximately 45 minutes.

Parmiggiana, like Lasagna, is one of those dishes that tends to improve if it is allowed to sit for a couple of hours before cooking. This means that you can easily prepare it well in advance, and then just warm up the dish half an hour before serving.

Buon Appetito!

Oh my mozzarellas!

We first had this at Jamie Oliver’s restaurant in Cambridge – The Italian

As with the rest of his food, Jamie Oliver firmly believes in simple and good ingredients. Let’s face it, it’s harder to go wrong that way!

Here you have 2 mozzarella di Bufola balls chopped carefully in half and laid out on your chopping board (try to avoid a wooden one in this case).

image

Very very carefully scoop out the interior, leaving a firm ‘shell’ of mozzarella

image

Mix the parts you’ve scooped out with basil pesto

image

Fill your shells again and garnish with fresh basil

image

Serve as a fresh, delicious and surprisingly simple starter. Buon apetito!

image

Stu’s casserole

We did not call this Stu’s casserole because someone called Stu made it. Neither did he eat it (we did, haha!). No.. we called this Stu’s casserole because it was originally planned to be a Beef Stew. Eventually we decided to change it to a casserole, seeing as the same ingredients are needed and more specifically upon realising that an actual stew requires a long preparation time.  And we were really hungry. Mind you, a casserole needs to be cooked in the oven. Long story short, we’re not sure what we made. Hell we could even call it a really thick soup. In any case it was delicious and hugged us from the inside ❤

You will need:

  • Beef 500gr, even a cheap cut will do
  • large carrot, peeled and chopped
  • 2 potatoes, peeled and chopped
  • glass red wine
  • large onion, diced
  • 1 clove garlic, diced
  • 300ml stock

Start by dicing the onion and garlic. You will have time to chop the other ingredients as these cook. It’s best to start with the carrot or beef as these both take longer to cook than the potato. You will add the potato later when there is more fluid involved so that you’ll avoid making chips.

image

Fry the onion and garlic until they just start to brown and become translucent

image

Chuck in the beef chunks until they start to brown and then the carrots to give them a bit of a glaze before adding any liquids.

image

Now add the glass of red wine and let it simmer for a short while.

image

image

Add the potatoes.

At this point add your stock made with half a cube – we used plain, but you can also use beef or vegetable stock. It’s important not to add too much fluid if you want a thick result.

Finally add tomato sauce; the chunky type is preferable for this.

image

image

Let it simmer for about 40 minutes until it becomes thick and rich. Serve with a chunk of fresh bread for dipping.

image

Using leftover coleslaw

Making good use of leftovers is something important to learn if you want to avoid throwing a lot of food out. It’s generally a good idea to try it the very next day, but it depends a lot on the type of food and for how long it keeps. A good indication is the smell – if you don’t like the smell of it then it’s probably gone off  or about to and it’s a very good idea to throw it away in that case.

In this instance I had some left over coleslaw salad – it has no dressing or mayo added to it.

In a dry pan place your salad together with a little bit of soy sauce and hoi sin sauce (or teriyaki – both optional).

In the mean time boil some pasta or rice until completely cooked. Drain and add to your cooked coleslaw. Stir until mixed, adding some olive oil or more soy sauce if necessary. Serve like this with fresh pepper or with grated feta/halloumi cheese on top.

This is also a great way or incorporating more vegetables into your meal!

Gateau Marie

Gateau Marie has always been one of my favorite desserts. It’s pretty simple, lasts a while if not eaten straight away, and tastes absolutely delicious.

You will need:

3 tablespoons instant coffee

Cognac

2 packets of Morning Coffee or Marie biscuits

For the cream:

6oz Icing sugar

2 tablespoons Cocoa powder

2 tins Nestle cream

1 packet of Margarine

1 teaspoon Vanilla essence

Start with the cream.  Soften the margarine in the microwave for a few seconds.   Mix in the icing sugar slowly, and gradually add the other ingredients.

image

image

Once you have a smooth, creamy mixture, beat with an electric whisk or LOTS of elbow grease until you have a light, fluffy mixture.  Place in the fridge and allow to cool.

When the cream has cooled a little, it is time to start the layering.   Make up some VERY strong coffee – 3 tablespoons of instant coffee in a mug. Dissolve, pour into a bowl, and add a generous splash of cognac.  Allow to cool.

Now line a bowl with some cling film.

image

Dip the biscuits in the coffee very briefly, and place in the bowl.   Be careful not to soak the biscuits too much as they will just fall apart.   Make an even layer of biscuits. Put aside a couple of tablespoons of cream in a separate container, then cover the biscuits with a thin layer of cream, and start again.   Keep building up layers of coffee-soaked biscuits and cream, until you run out of ingredients or you reach the rim of the bowl.

image

image

Place in the fridge for an hour or two. The last step is to flip the bowl over.   This should be fairly easy with the help of the cling film.   Peel this away, and use the last remaining bit of cream to decorate the finished product.